
I think I am finally heading towards the end of my Christmas projects! Phew. Nothing like stretching them out until right up to the mailing deadline. I thought I would share some more before and afters. I never remember to take photos while I am in the process, so I don't see too many tutorials coming from me in the future. Oh well. I am happy to answer any questions though.
I guess I'll start with the ornaments. I started with a paper mache ornament form from Hobby Lobby, and sculpted a Santa face with using Claycrete (papier mache or paper pulp). After it dried for a couple of days, I painted and glittered away. Here are the two I completed:

Before


After
I also worked with paper and Styrofoam cones to make a full-sized Santas. They take forever to dry, but the finishing process is pretty simple. I like to use the small bottles of acrylic paint (whichever is on sale) for the detail work, and I typically seal them with a water-based satin varnish for durability and a slight shine. I worked with more glitter than usual this year (Martha Stewart brand except for the tree Santa). I now have glitter EVERYWHERE!

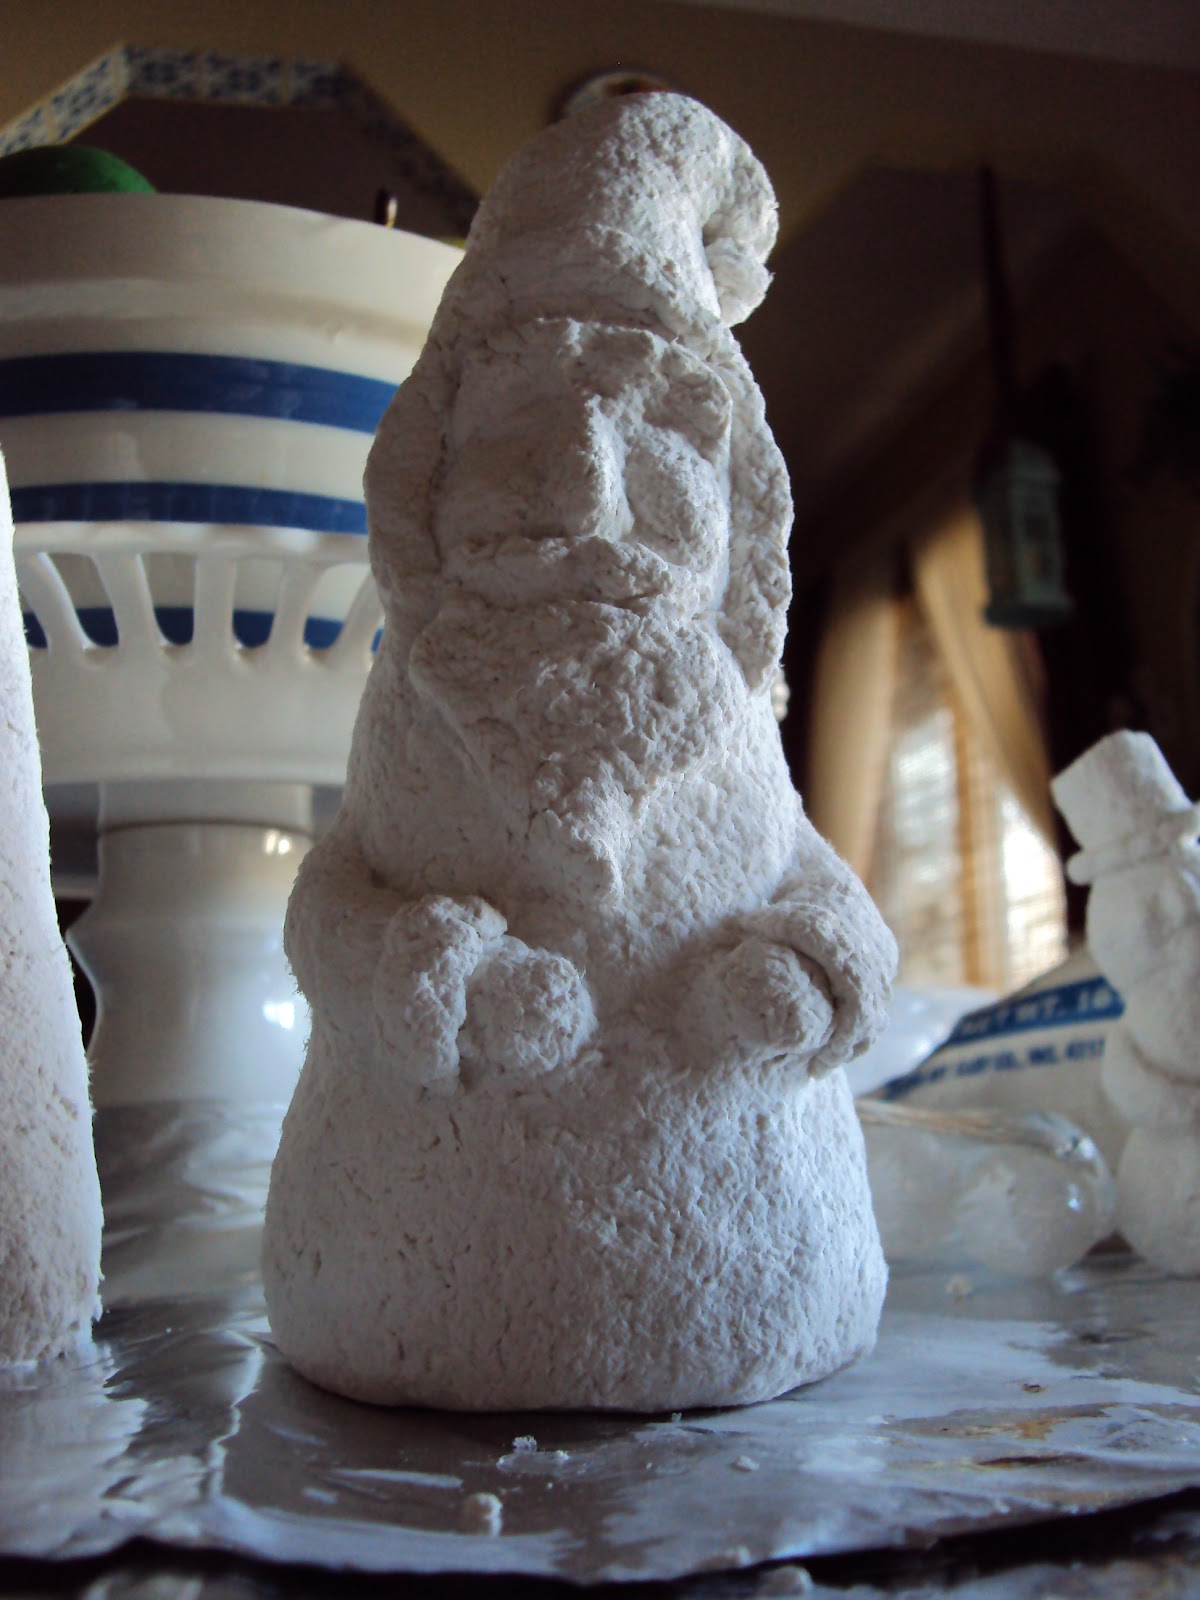
Before

After
I had hoped to get more done, but I found it really hard to work around our two rowdy dogs. I tend to wind up working at either the dining room table or the coffee table (which is right at tail-swiping level). Not ideal for sure. I have got to come up with a better craft space solution! Maybe for next year, eh?
Now I just need to get my entire house decorated and finish my shopping. No pressure, no pressure at all.
This post is being linked at:


Wow - those are amazing!! Look store bought! Nice job!
ReplyDeleteOMG - theses are the cutest things ever! What an imagination. I love them.
ReplyDeleteRhonda
holy smokes-amazing! what a fantastic job you did!
ReplyDeleteAdorable, absolutely adorable!!
ReplyDeleteThose are fantastic! Love them
ReplyDeleteThese are great! You have such a gift!
ReplyDelete~Amanda
They are precious! I admire your talent!
ReplyDeleteLove love love these Santas. Always wanted to do something with Santas but unique and these sure are. I do have a couple questions though. #1-Is there a prep you need to do to the paper mache or syrofoam? I wondered if the product would pull away.
ReplyDelete#2--can you use the paper pulp on glass such as the clear glass Christmas ornament(build out on those)
#3--Is there anything I should know about or any hints you could give me before I tackle my new adventure. lol I have never worked with paper pulp products.
Thanks
Pat-NY
t
Thanks for your comment, Pat-NY! To answer your questions:
ReplyDelete1. You don't need to do any prep to attach the paper pulp to either the paper mache forms or styrofoam. I haven't had any problems with it pulling away at all. I just mush it on there really well. :)
2. I haven't tried attaching it to glass. I'm not sure that it would stick very well.
3. The only hint I can think of is to always keep the clay you are not working with covered. It will dry out fairly quickly. I store mine in a large zip lock bag after I mix it. Oh, and you can use just about anything as a tool. Forks, knives, toothpicks, fingers... just wash really well afterwards if you intend on keeping the item. I also like to use tools intended for use with Sculpey.
Have fun making your Santas!